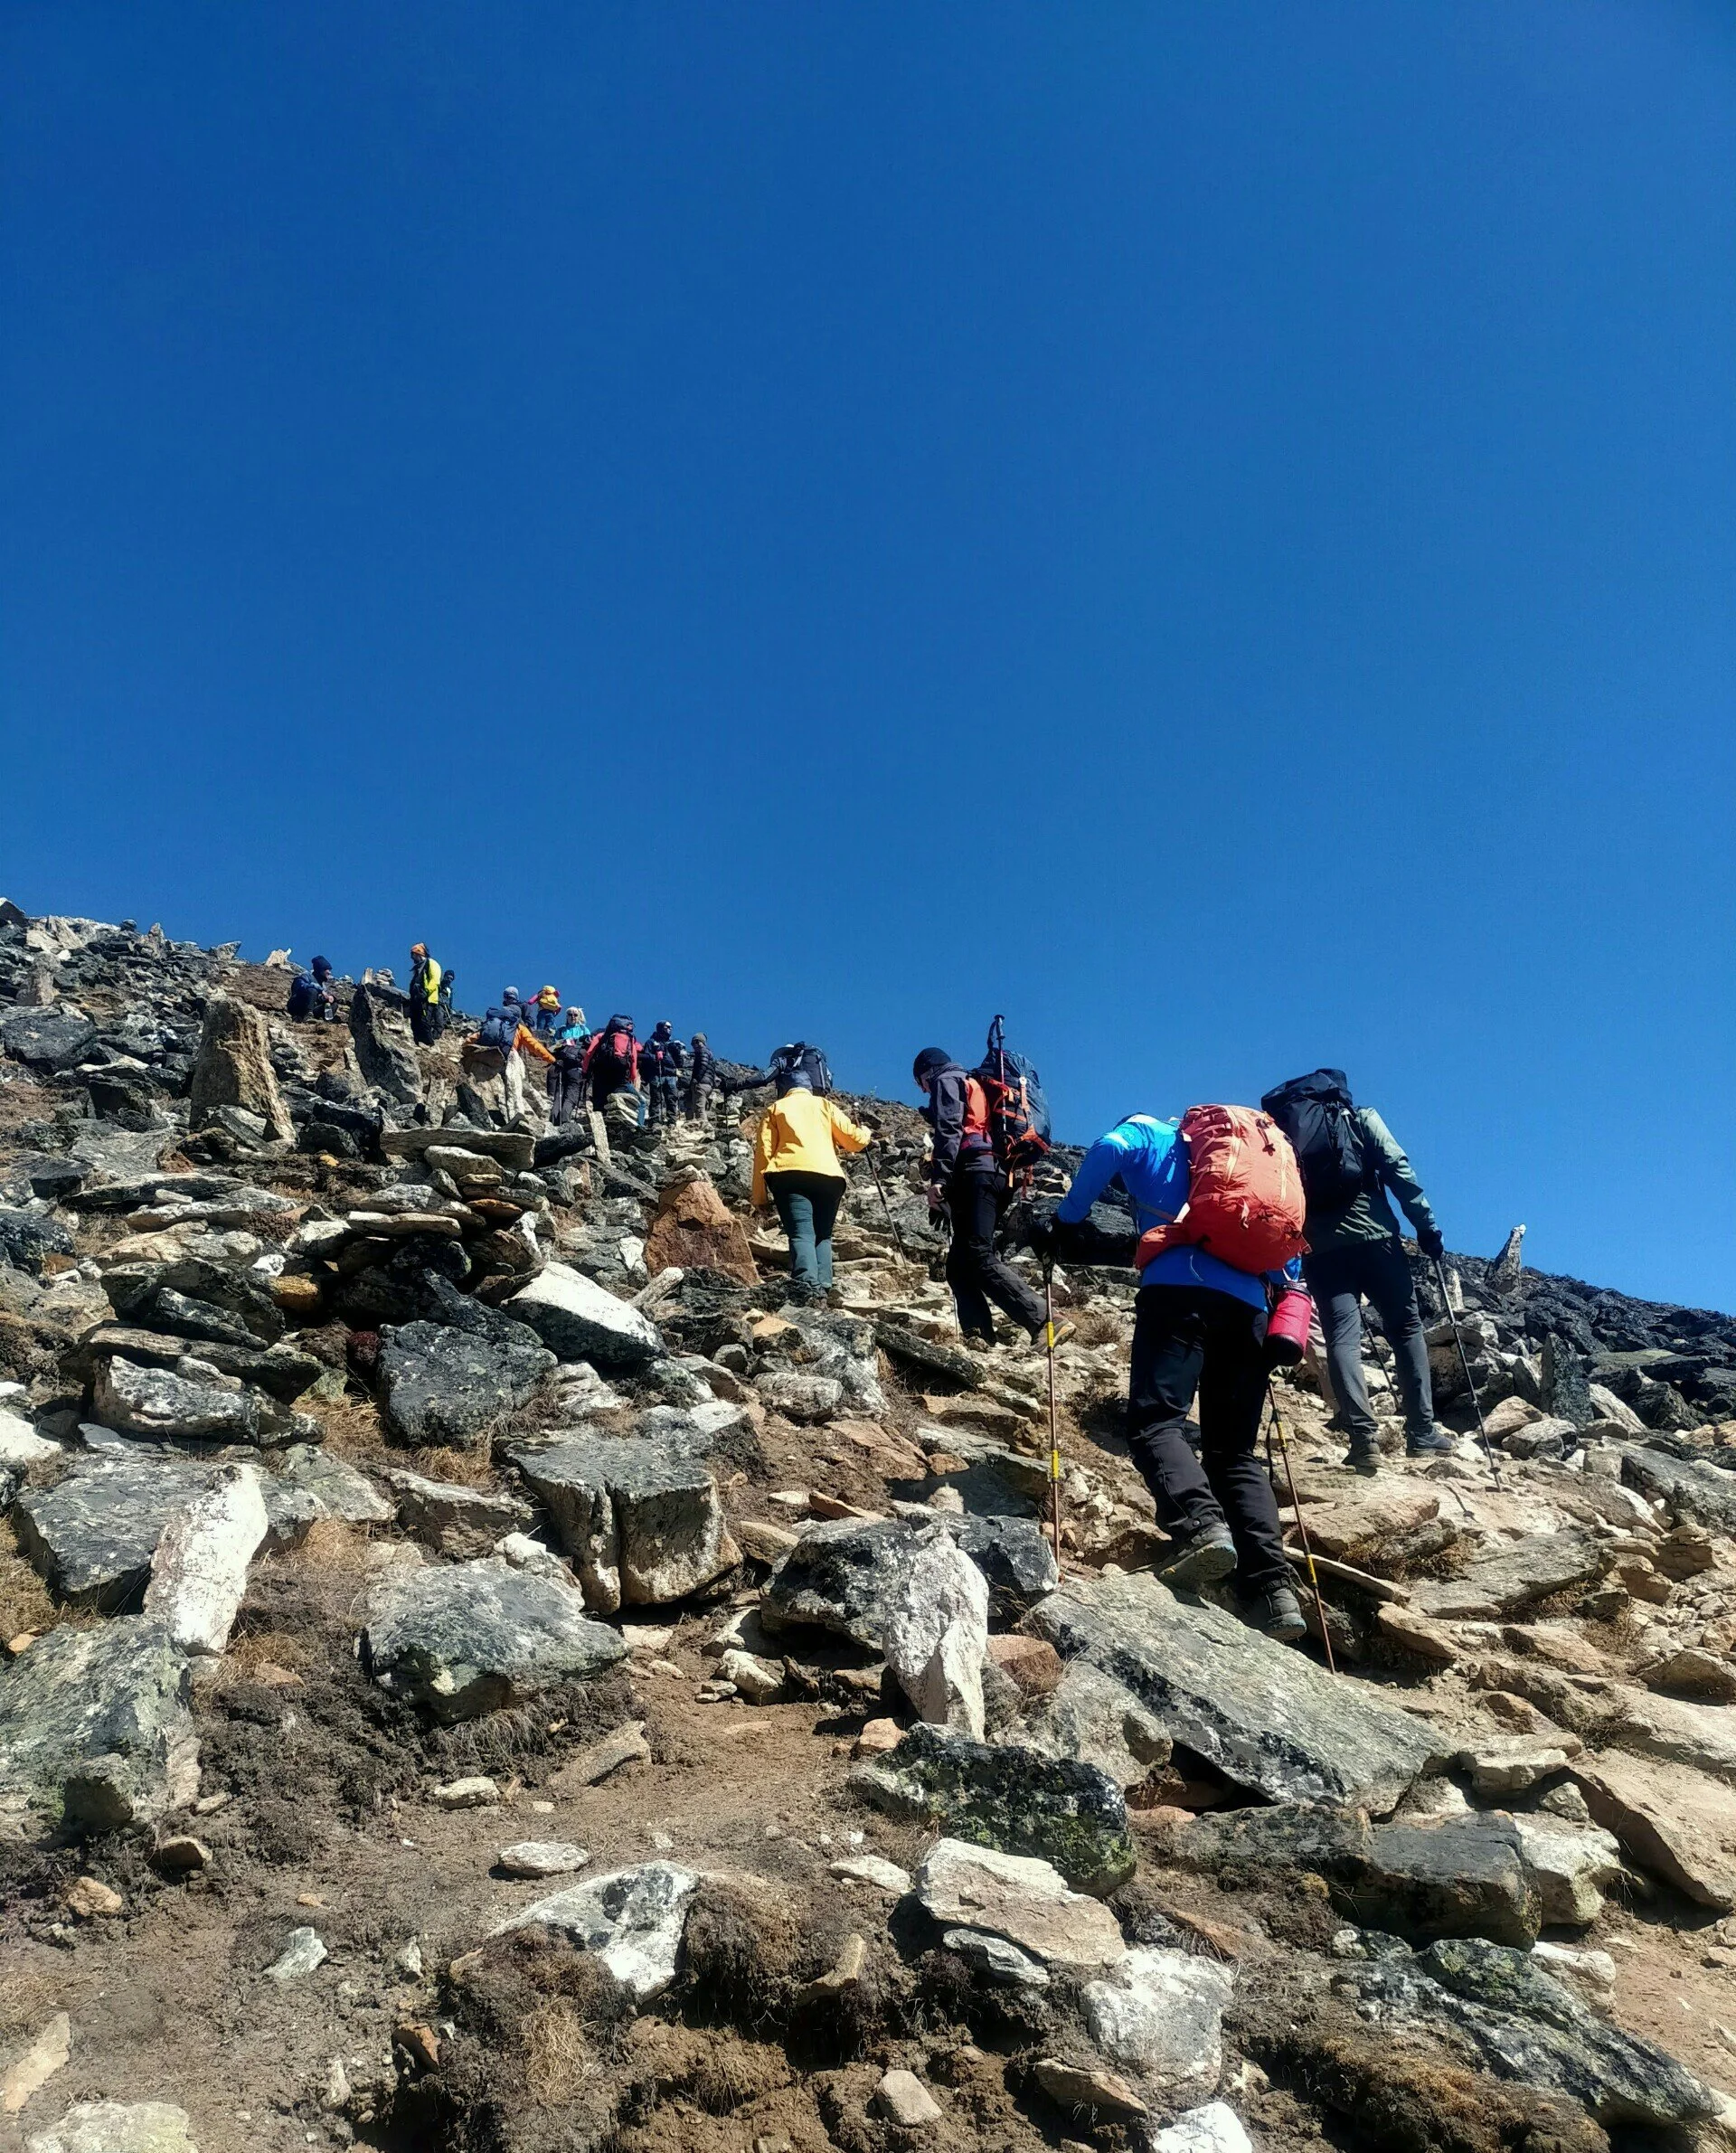
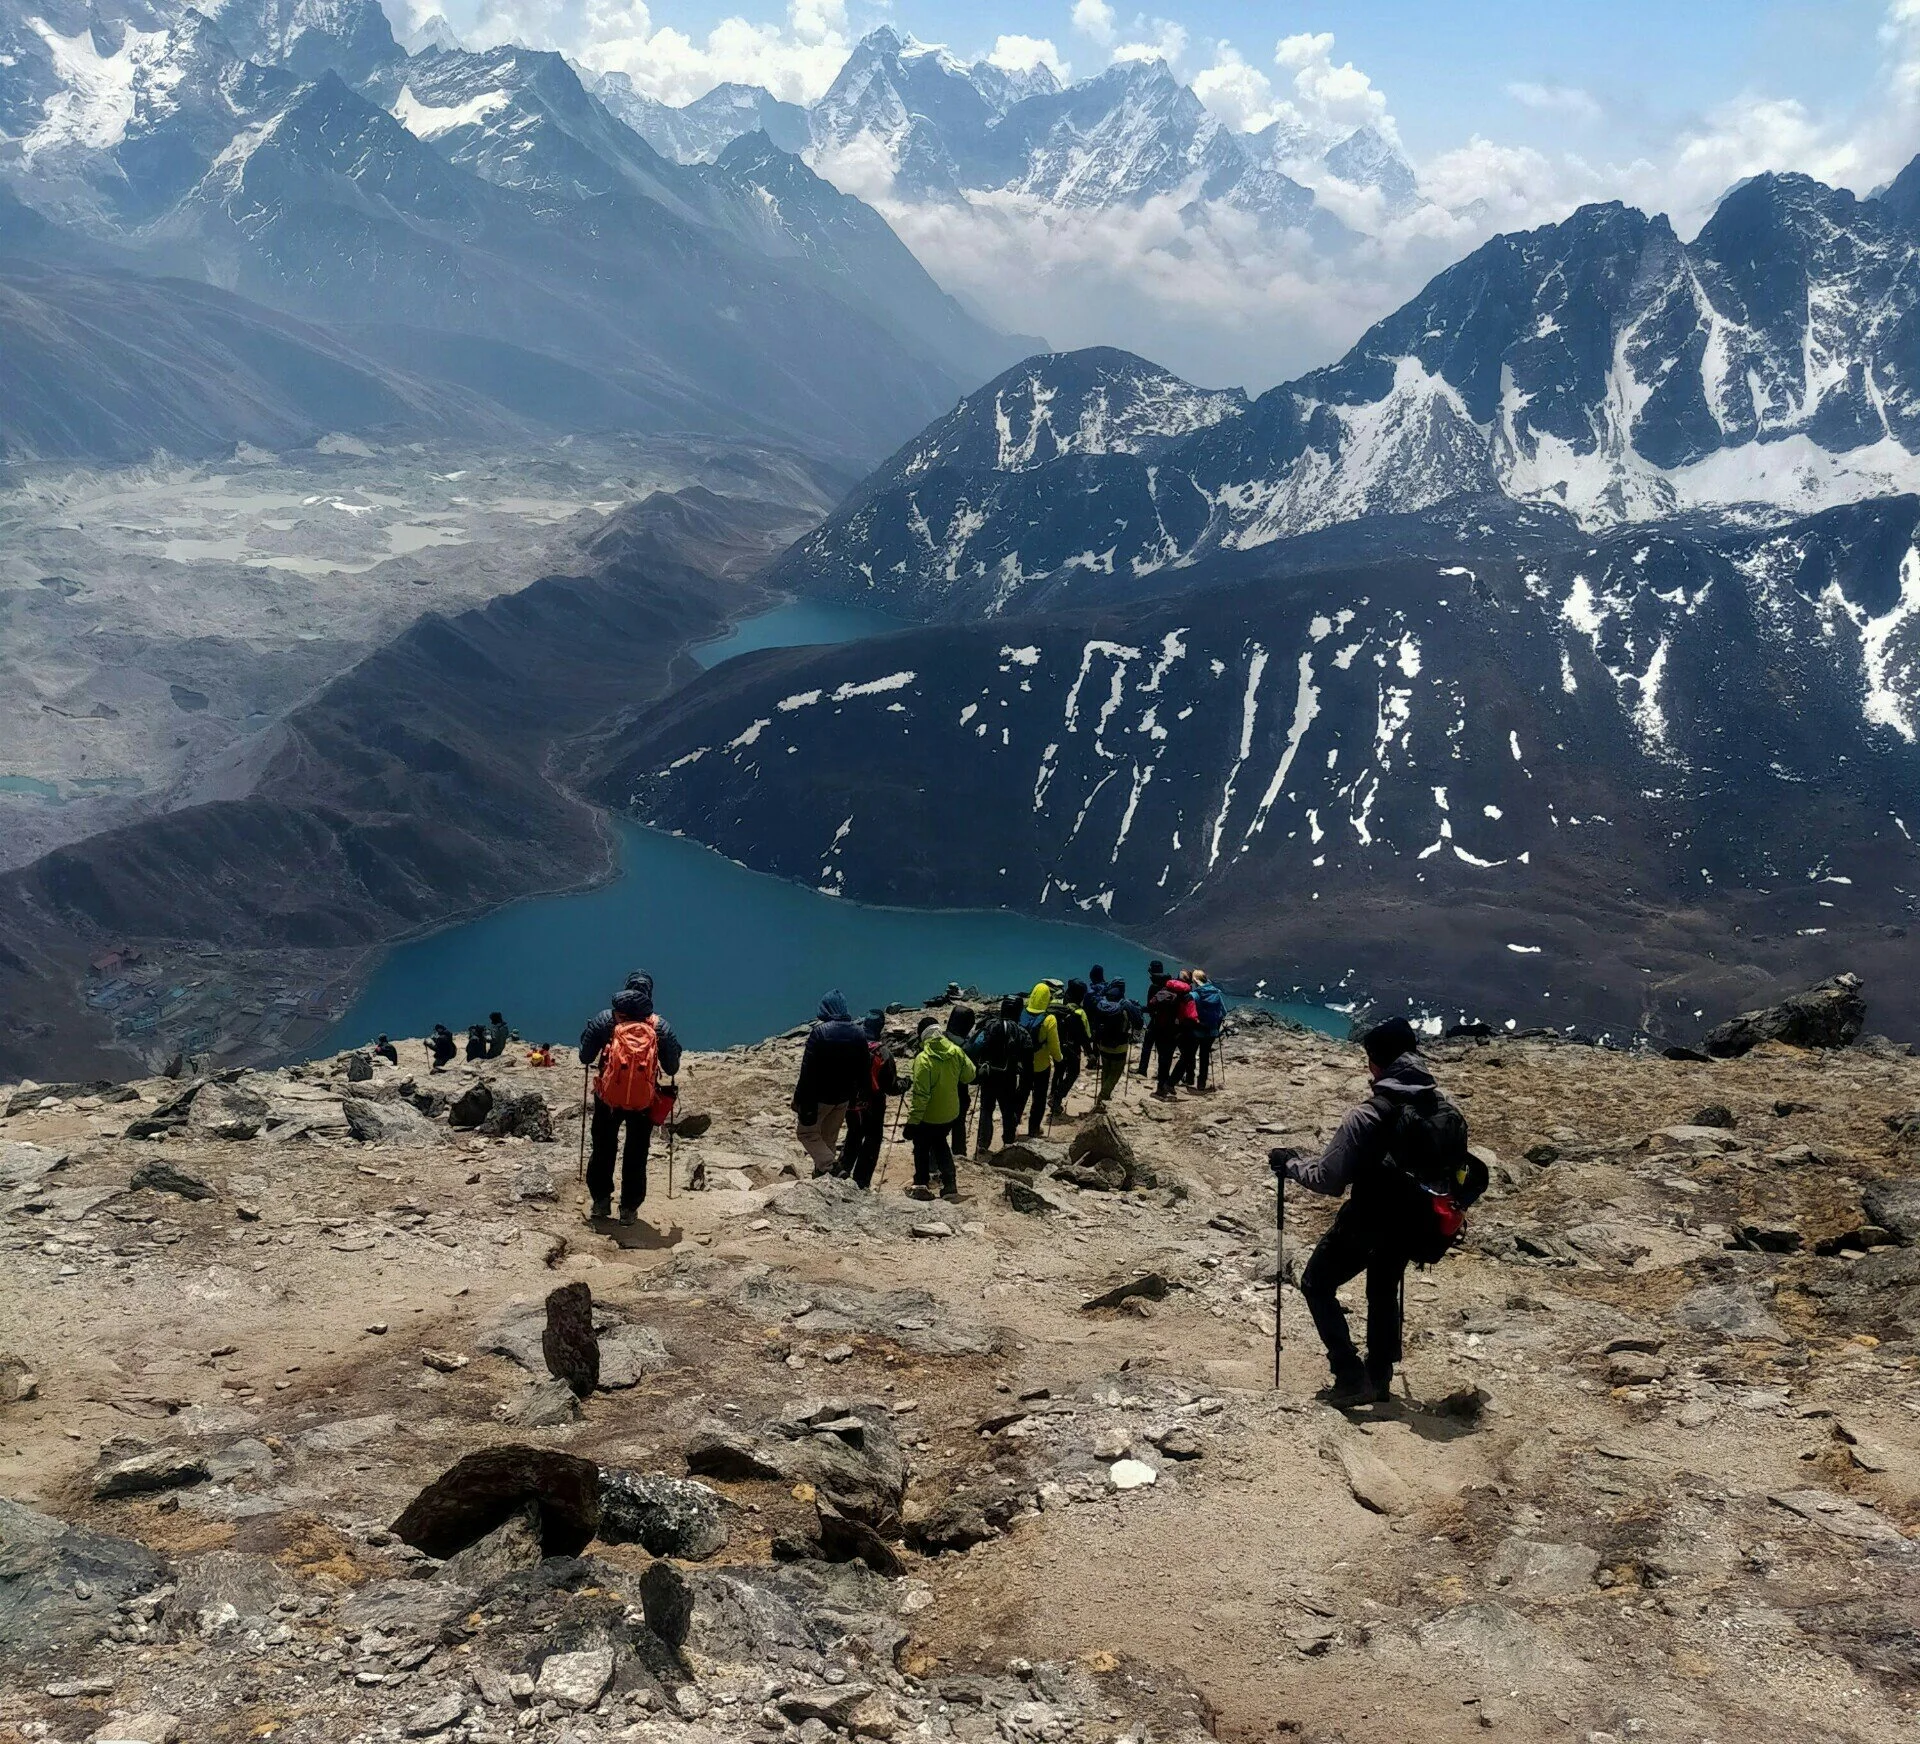
Photo Gallery Photo Gallery Caption 1 Caption 2 Caption 3 Caption 4 Caption 5 Navigation Bar Overview Itinerary Trip Details FAQ Reviews Photos